// load_log.exe /cat=Software
Build an AI server with Ubuntu llama.cpp
Posted September 20, 2026
After my PC upgrade, I had some spare components sitting around, so I decided to add an AI server to the homelab. If you are looking for the specifics of configuration, scroll down to creating a bootable USB drive.
Why local?
Why would anyone want to put an AI server in their basement? There's a few primary reasons.
- Privacy - Running an AI model locally allows means no information is pushed over the internet.
- Price - I had the spare parts sitting around, so I'm only paying for the electricity. No paying for tokens.
- Education - Learning is the best. Understanding how something works allows a person to use it to the best of its ability.
- Custom Models - Doubling down on education, I can configure the server to use a ton of different models that are tuned to do different things.
- Extra rack space - Racks look sad when they aren't full.
Build the Computer
The first step was to get all of the hardware from my former gaming case to the new rack mount case.
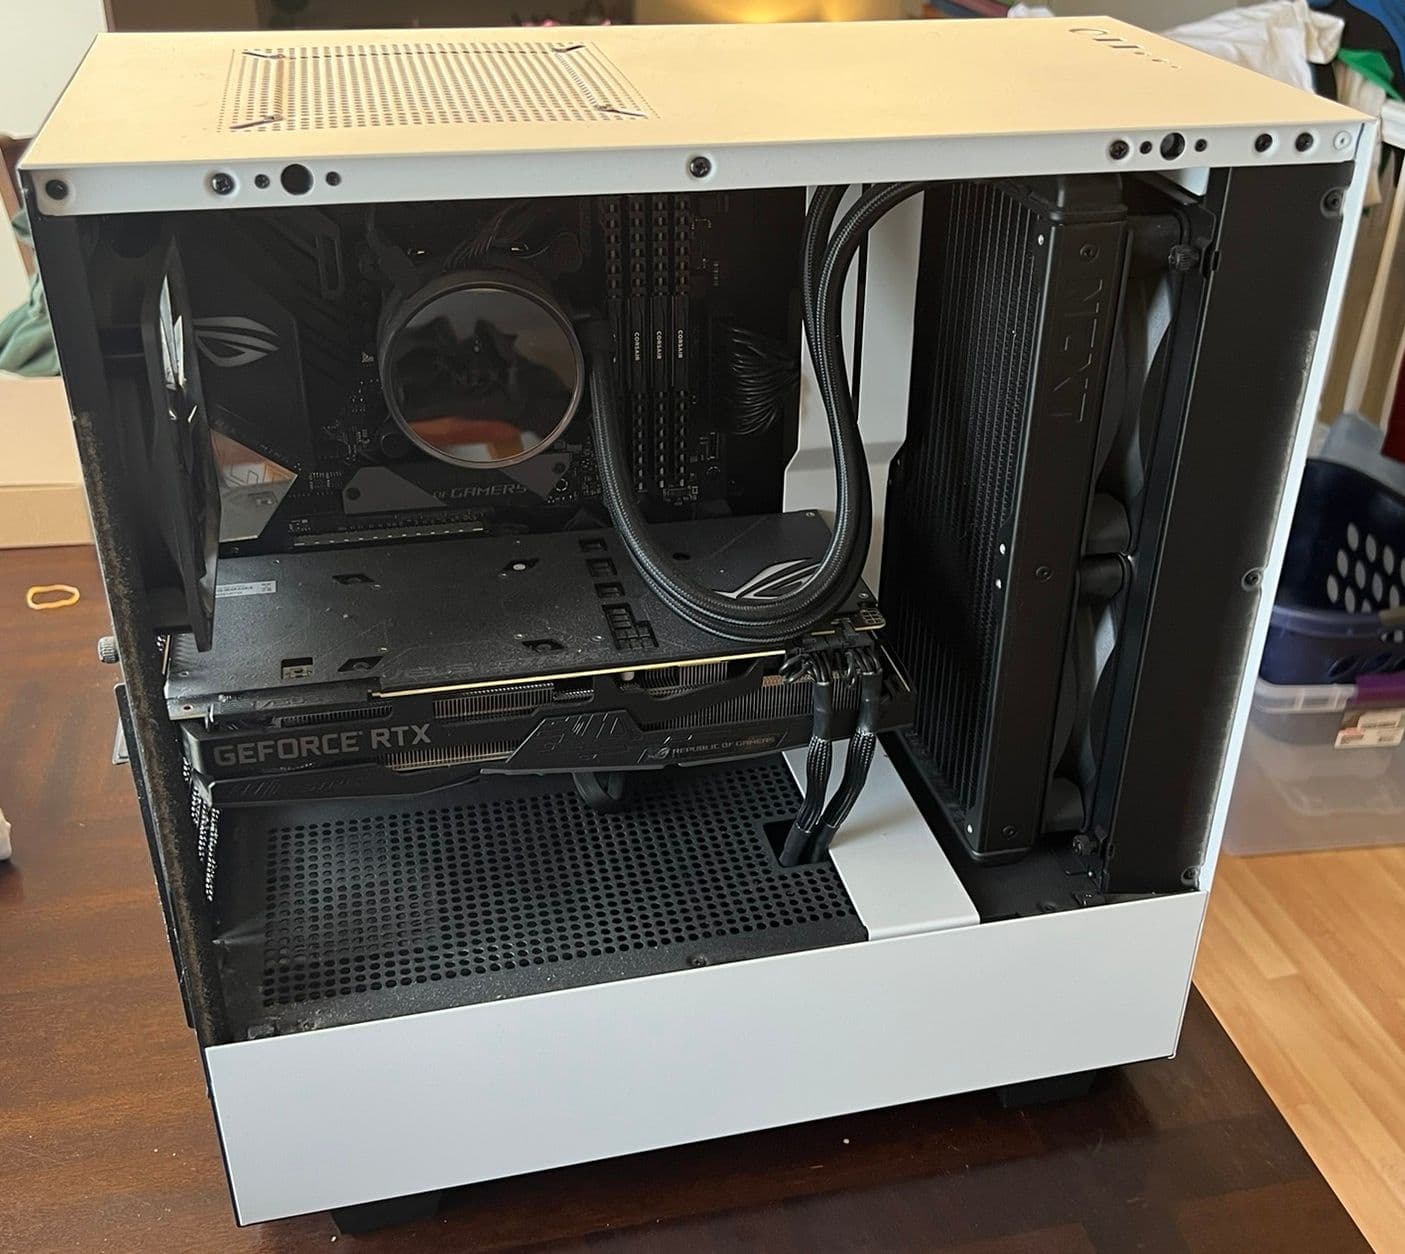
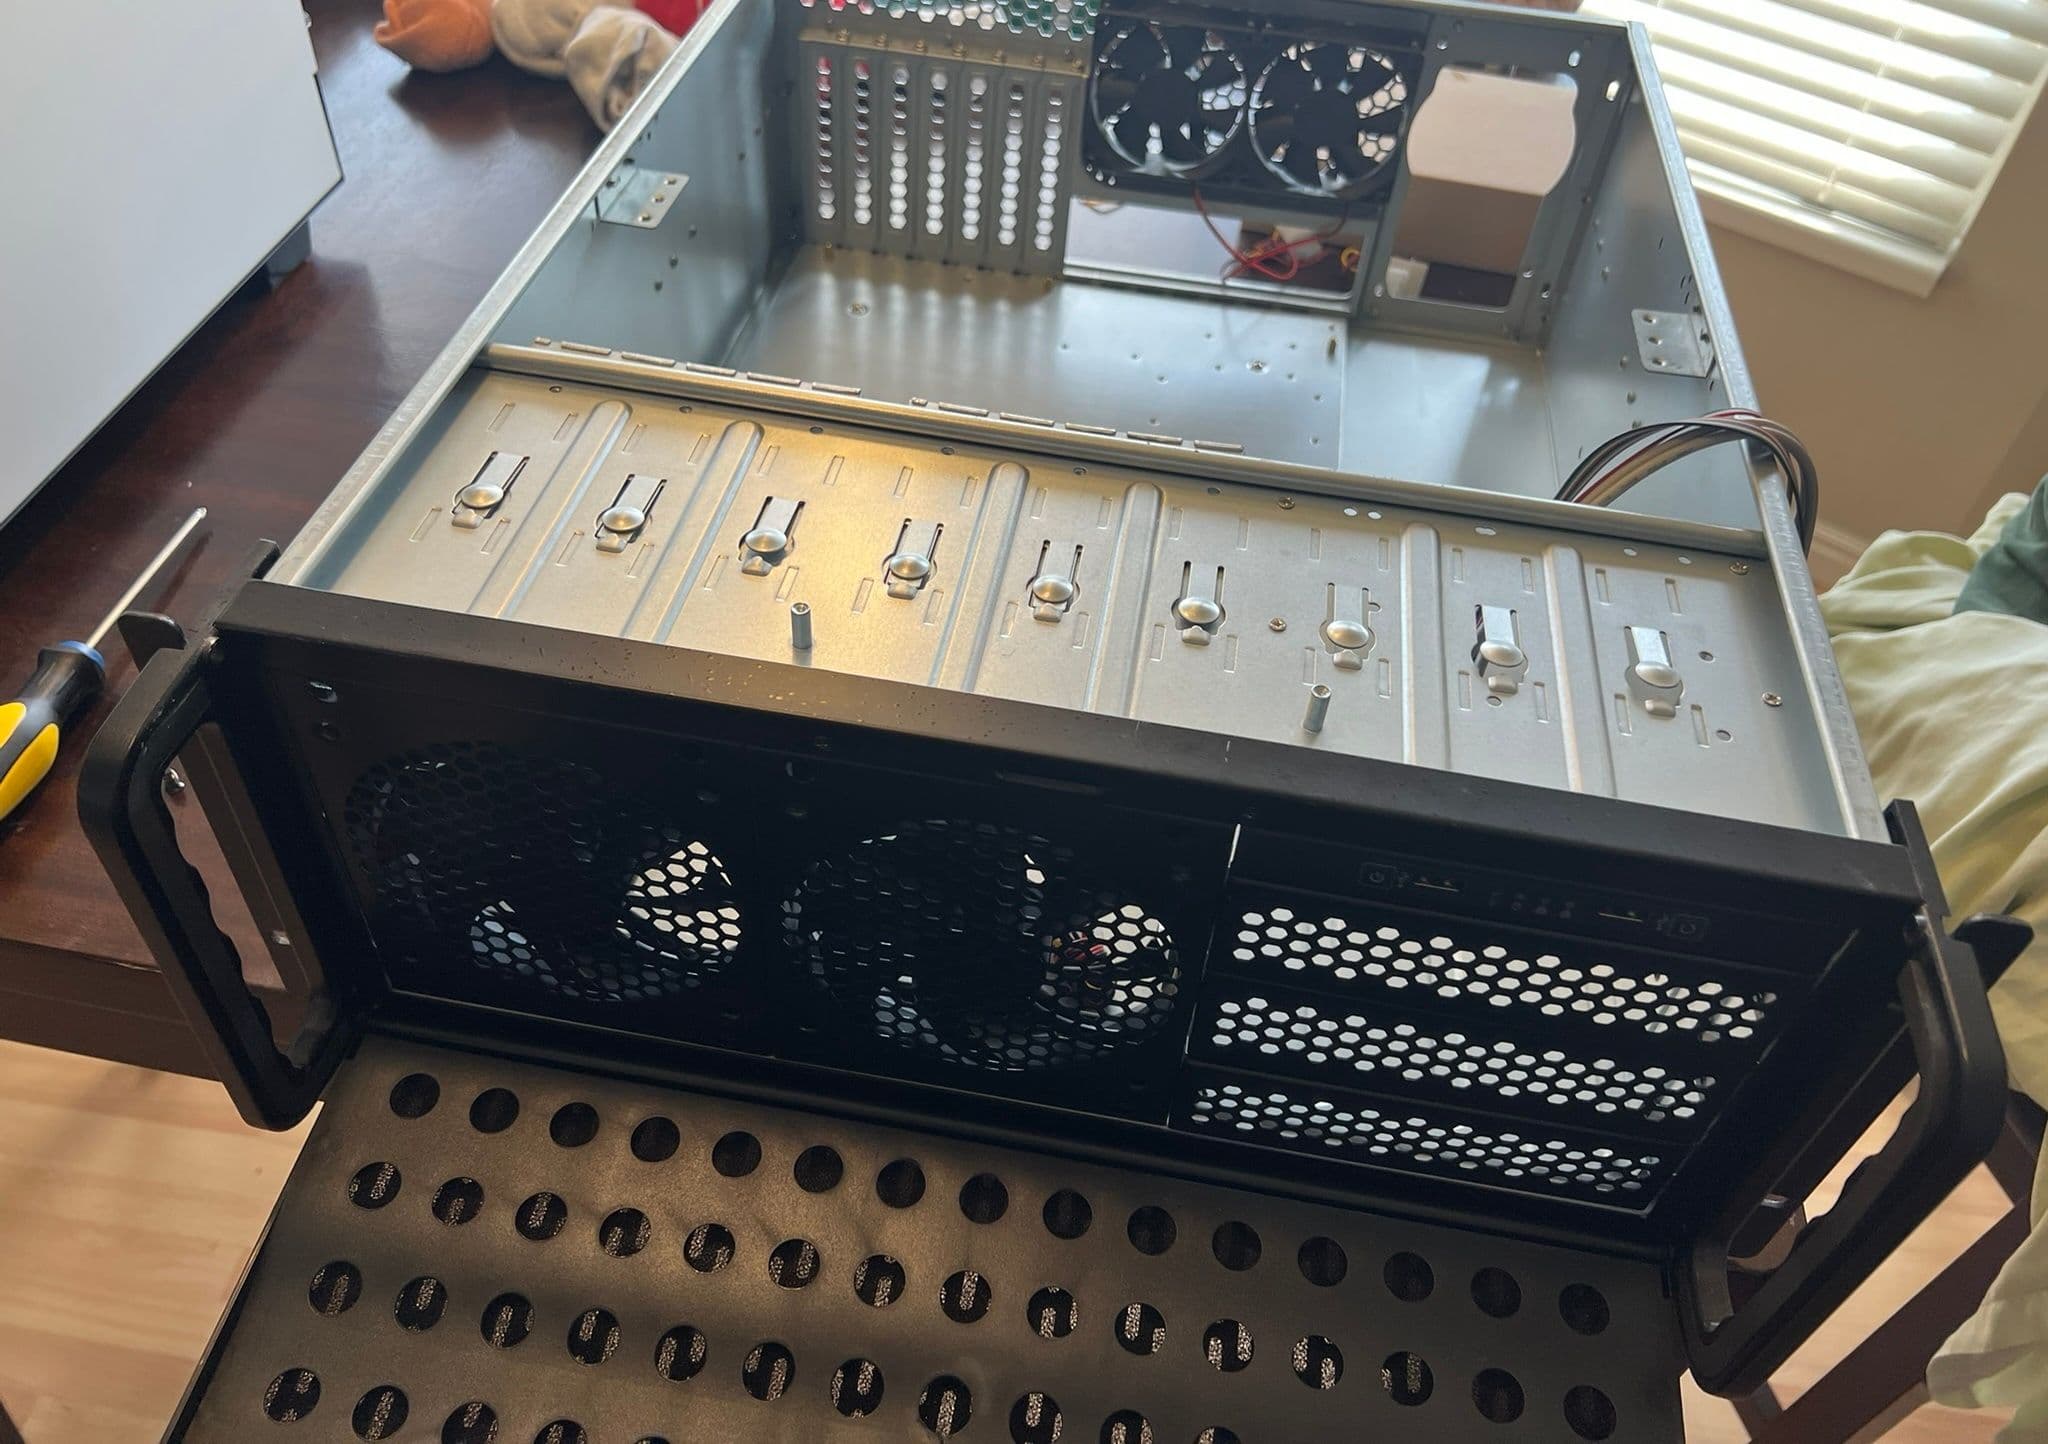
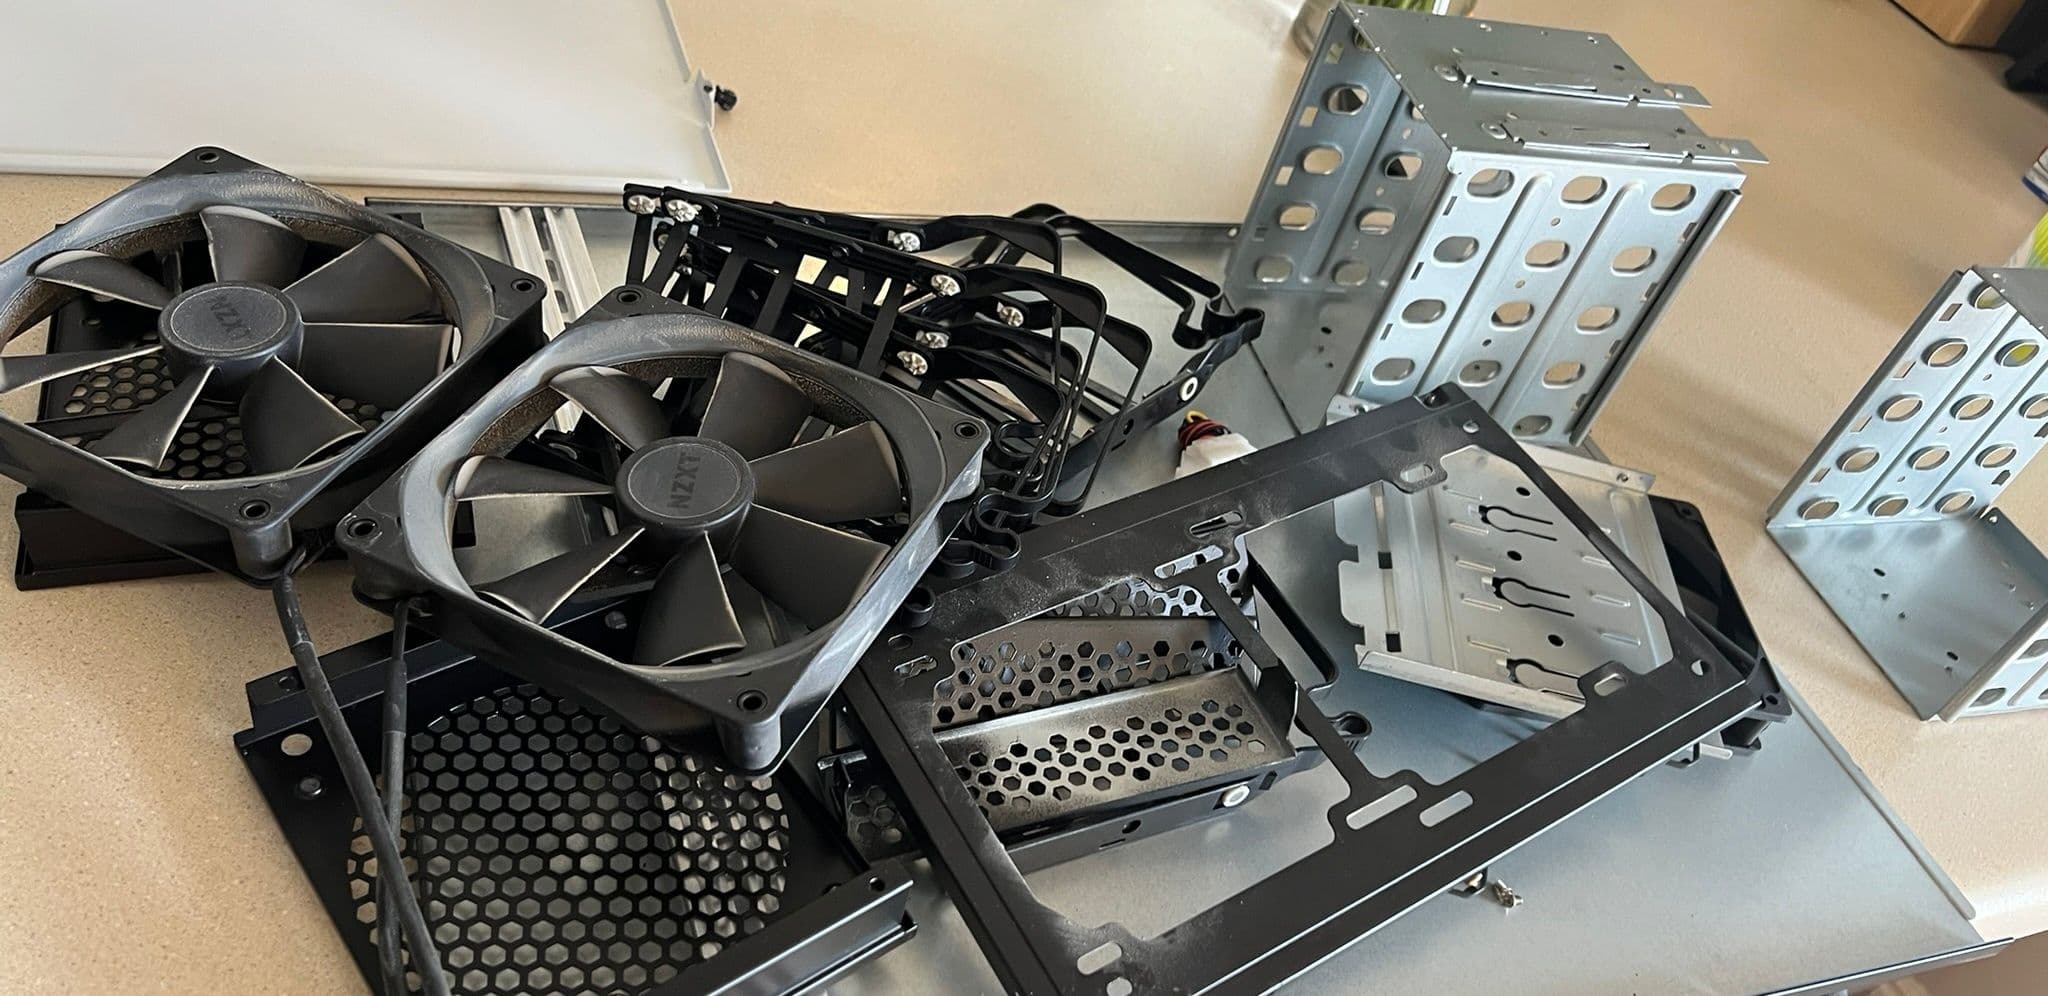
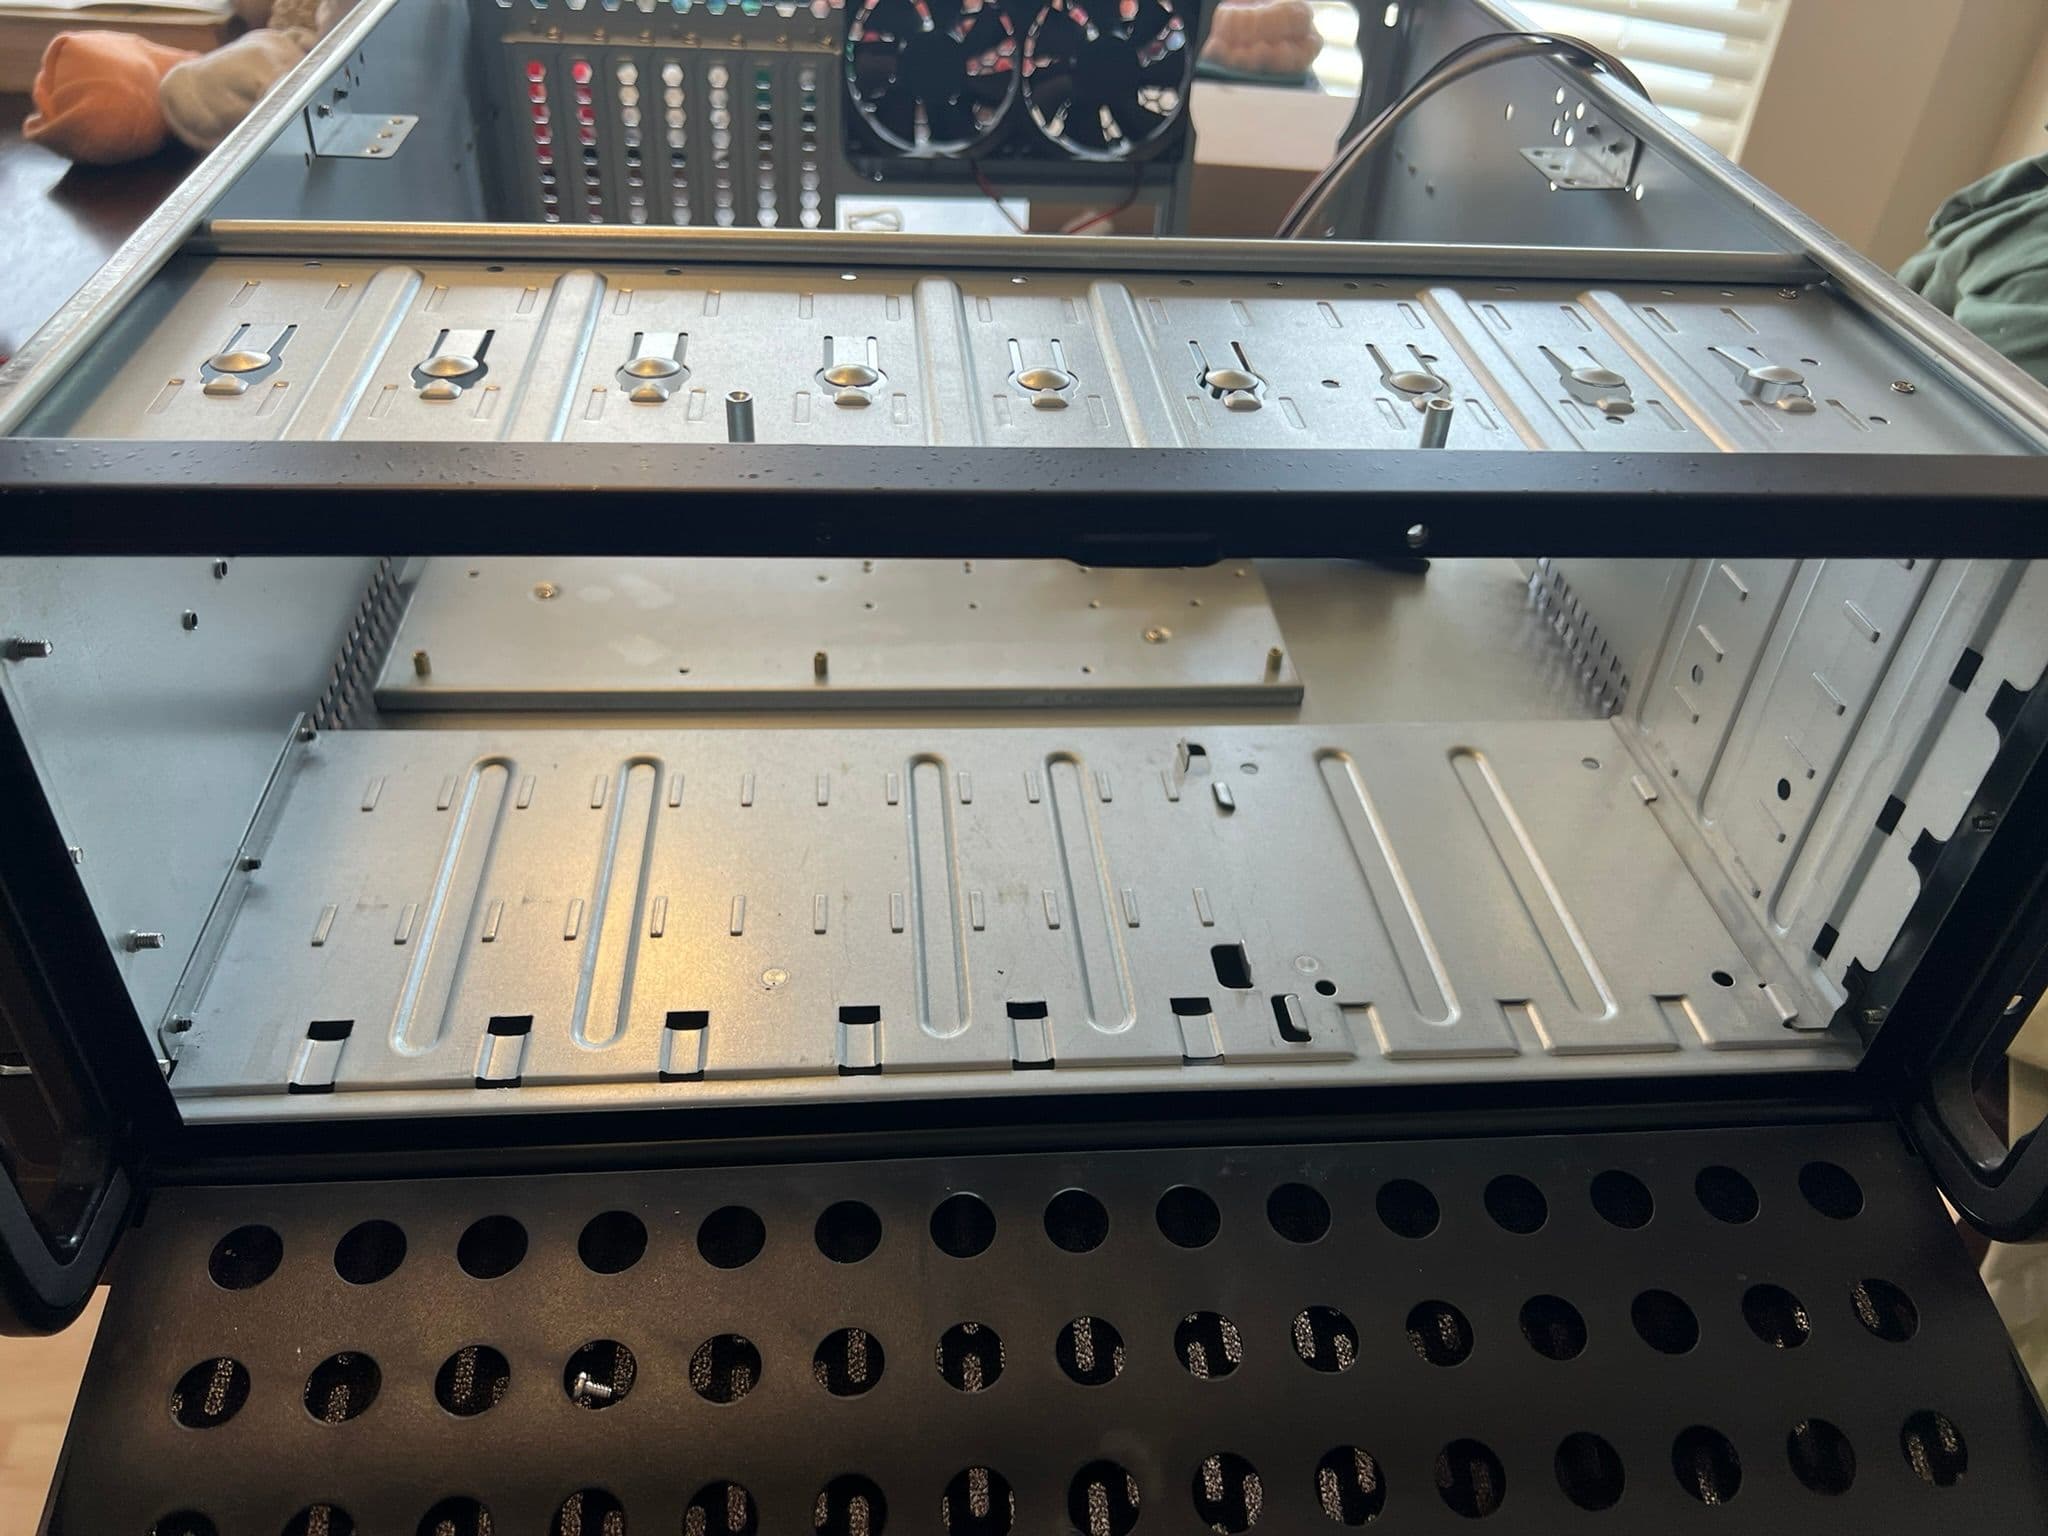
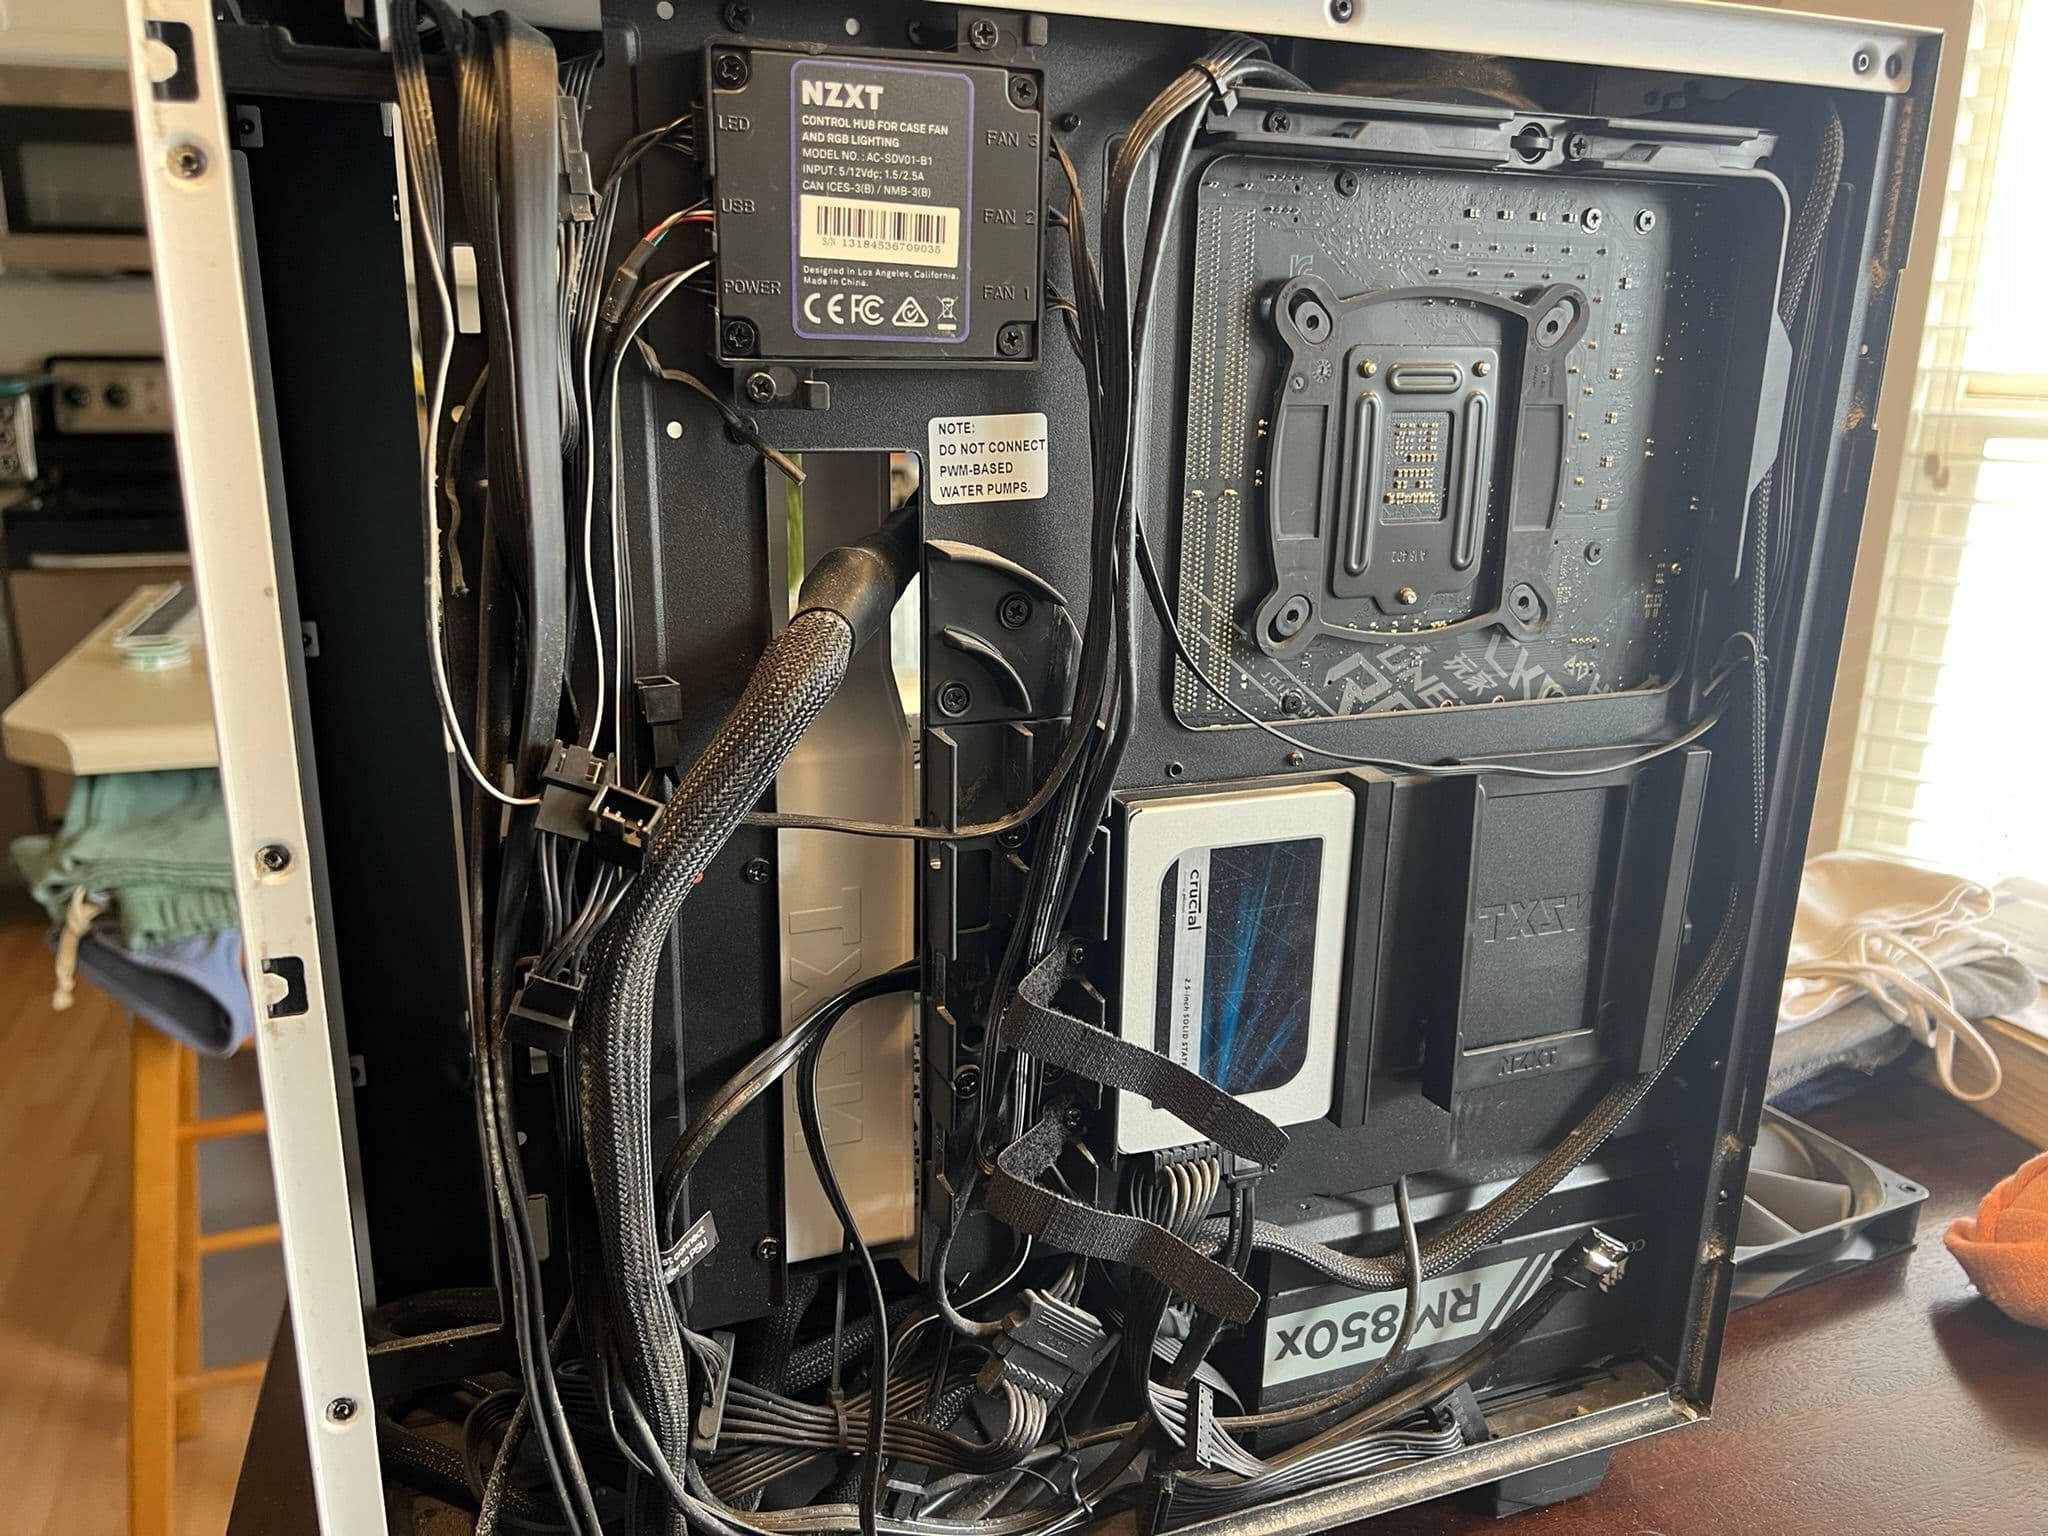
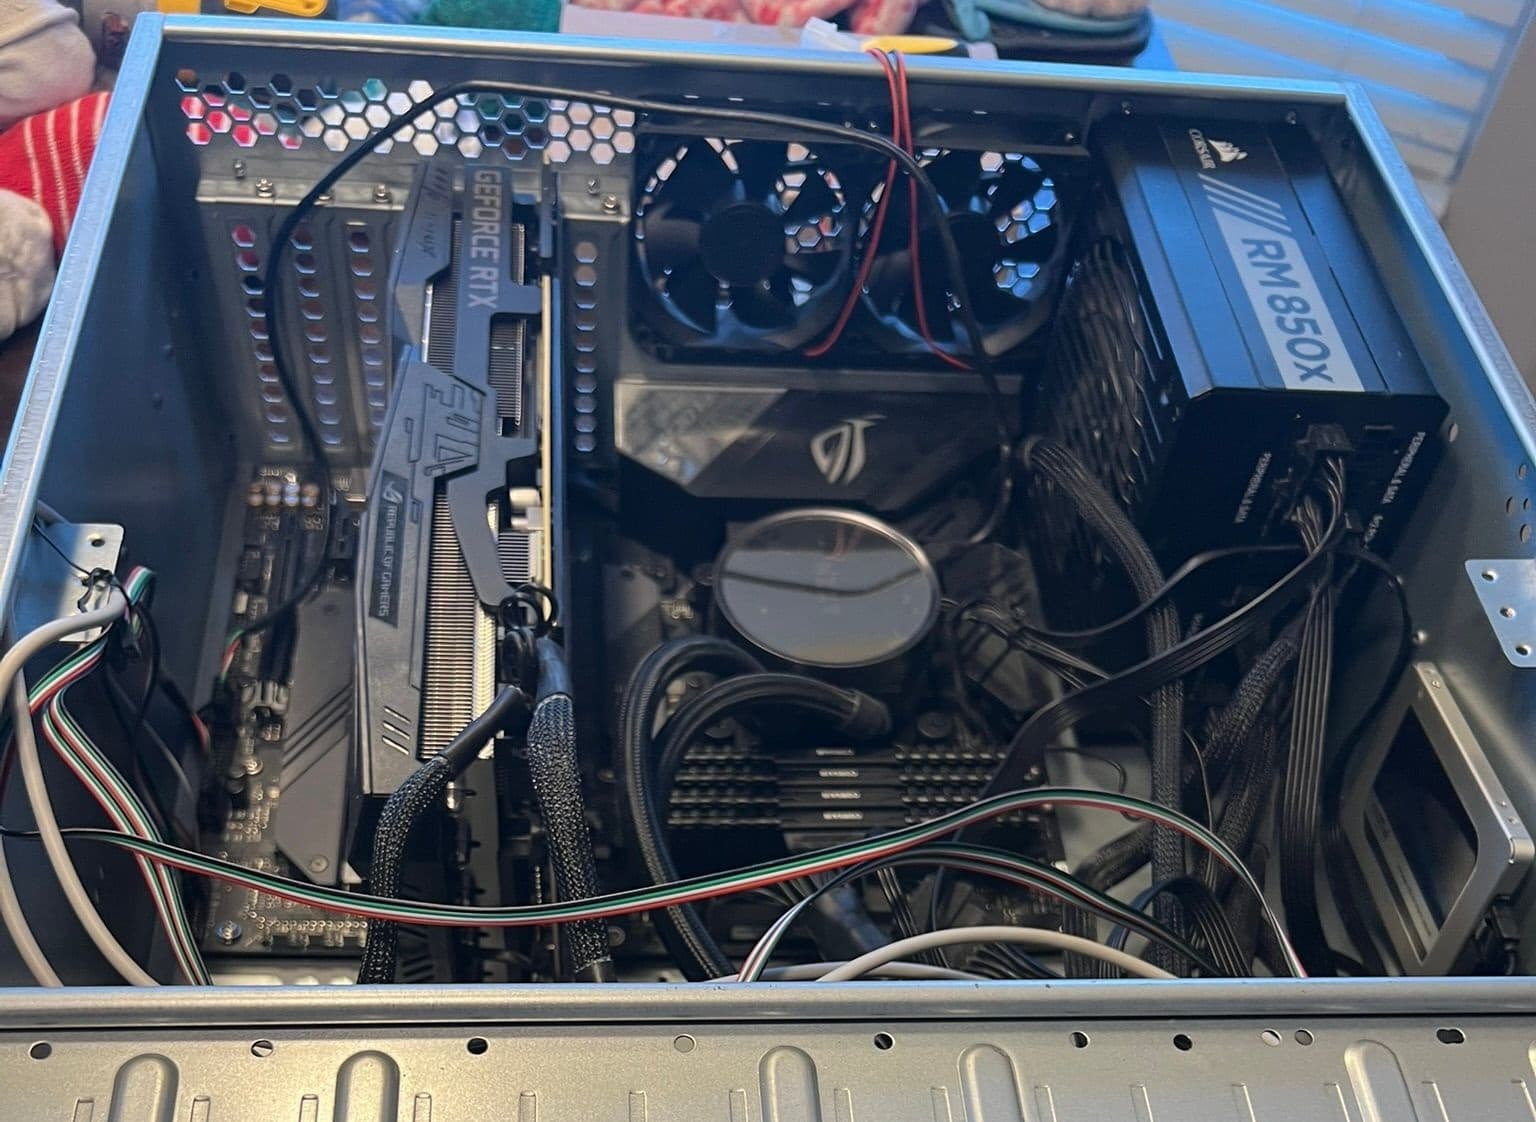
Don't worry, I cleaned up the cable routing in the end. I just don't have a picture. From here, these are the steps I took to get everything configured.
Create a bootable USB
Download the latest version of Ubuntu server. I did this from Windows, so I used rufus to create the bootable USB.
Install Ubuntu
Insert the flashed USB stick into the computer and fire it up. If it doesn't take you to an installer, restart, enter the bios, and change the boot order to make the USB drive run first. The installer goes through a number of questions to install Ubuntu server on the machine. Once done, it prompts to pull out the USB stick and restart. Ubuntu server installed. Login with the user account previously configured and get to work.
First step is to make sure all packages are up to date.
sudo apt update
sudo apt upgrade
Configure hostname resolution (Optional)
I like to test out SSH and verify I can manage the server remotely. One issue that can arise is although the hostname gets configured during installation, it isn't resolvable on the network. avahi-daemon solves that problem.
sudo apt install avahi-daemon
sudo systemctl start avahi-daemon
sudo systemctl enable avahi-daemon
SSH should now be available via both IP address or hostname. This resolves pesky DHCP issues.
Driver installation
Specific drivers for the graphics card are needed to make sure all the functionality of the card is used. This requires finding the best one and installing.
sudo apt install linux-headers-$(uname -r)
Figure out what drivers to use by listing the possibilities.
sudo ubuntu-drivers list --gpgpu
This shows a list of available drivers for the GPU being used. Pick the largest number with the -server flag.
sudo ubuntu-drivers install nvidia-driver-580-server
Just as a safety precaution, I restarted the server to make sure everything was being used correctly.
sudo shutdown -r now
Once the system booted back up, I login and verify the correct driver is being used.
cat /proc/driver/nvidia/version
Run the nvidia-smi tool to make sure we can see any processes utilizing the GPU.
nvidia-smi
Great. The server now has all the connections to start making use of the GPU.
Building llama.cpp
Building llama.cpp from source is the best way to ensure the appropriate architecture, etc. We have an NVidia card, so we need the CUDA toolkit.
sudo apt install -y nvidia-cuda-toolkit
Get the build tools and git so we can get the source code.
sudo apt install -y build-essential cmake git
Download llama.cpp.
git clone https://github.com/ggerganov/llama.cpp.git
cd llama.cpp
Build llama.cpp with CUDA support and use all the processor cores to do it.
cmake -B build -DGGML_CUDA=ON -DCMAKE_BUILD_TYPE=Release
cmake --build build --config Release -j$(nproc)
This takes a bit, but now it's made for the specific machine. Time to run a model.
Setting up Qwen
There's many models out in the world. Qwen is generally good for coding, and is relatively efficent. At this point we could make use of any .gguf model assuming enough machine resources. Download the Qwen model.
mkdir /data/ai-models
wget -O /data/ai-models/Qwen3.5-0.8B-Q8_0.gguf "https://huggingface.co/ggml-org/Qwen3.5-0.8B-GGUF/resolve/main/Qwen3.5-0.8B-Q8_0.gguf"
Run a quick test
./build/bin/llama-cli -m /data/ai-models/Qwen3.5-0.8B-Q8_0.gguf -p "Hello World"
If you see no errors, we did it. Pretty neat, but I'd prefer to run it as a background service, so I don't need an active terminal session, and it launches automatically on system start.
Creating a service with systemd
You can create a user specifically for this purpose or use your existing user.
sudo useradd -r -s /bin/false llama
Create the service
sudo nano /etc/systemd/system/llama.service
The details of the service are below. Make sure to replace youruser with your user:
[Unit]
Description=LLama.cpp Inference Server
After=network.target

[Service]
Type=simple
User=youruser
Group=youruser

ExecStart=/home/youruser/llama.cpp/build/bin/llama-server \
-m /data/ai-models/Qwen3.5-0.8B-Q8_0.gguf \
--n-gpu-layers 99 \
--ctx-size 65536 \
--threads 8 \
--flash-attn on \
--host 0.0.0.0 \
--port 8080

Restart=always
RestartSec=10

WorkingDirectory=/home/youruser

[Install]
WantedBy=multi-user.target
Note: The parameters of ExecStart I inferred from looking up my hardware configuration against the model I'm running. Google is helpful here.
Reload all of systemd to recognize the service:
sudo systemctl daemon-reload
Enable automatic startup
sudo systemctl enable llama
Start the server
sudo systemctl start llama
Managing the service
Check the status of the service
sudo systemctl status llama
Follow the logs of the service
journalctl -u llama -f
Verify GPU usage
watch -n 1 nvidia-smi
Configuring remote access
Open the port
sudo ufw allow 8080/tcp
Testing
Check the model
curl http://localhost:8080/v1/models
Run a quick completion test
curl http://localhost:8080/v1/chat/completions \
  -H "Content-Type: application/json" \
  -d '{
    "model": "/data/ai-models/Qwen3.5-0.8B-Q8_0.gguf",
    "messages": [
      {
        "role": "user",
        "content": "Explain how GPU offloading works in llama.cpp in simple terms."
      }
    ]
  }'
I'm hoping to write a series of posts on interesting things to do with this new power. For now, I hope it helped.