Publish a .Net Core Website to Azure with Git
You can publish to Azure websites a number of ways. They all have their strengths and weaknesses so I tend to change them up depending on the situation. If I'm trying to get something quickly up to Azure I'll go with the git deployment. If I want full continuous integration I'll generally go WebDeploy and automate with continuous integration.
This article explains how to deploy a .Net Core application to Azure websites using git.
Create an Azure Website
You can't deploy to a site that doesn't exist so the first step is to create one. I'm assuming there's an Azure account already setup.
- Open the azure dashboard
- If app services isn't listed on the left rail then click "More Services"
- Search for app services and select it
- Click the add button
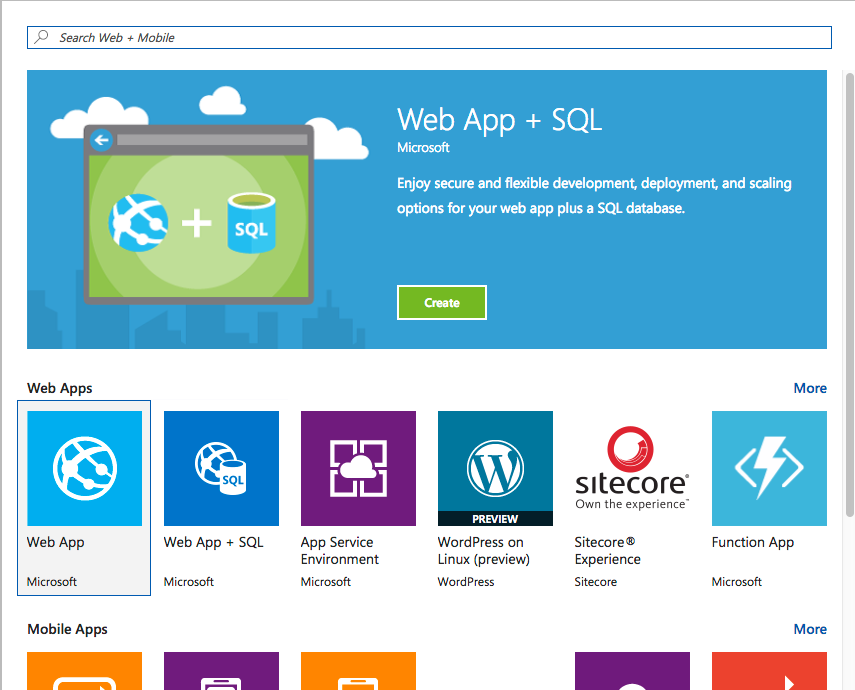
Now configure your Azure Website settings, and click create. All the details of pricing with Azure is outside the scope of this article so make sure you look at how service plans work.
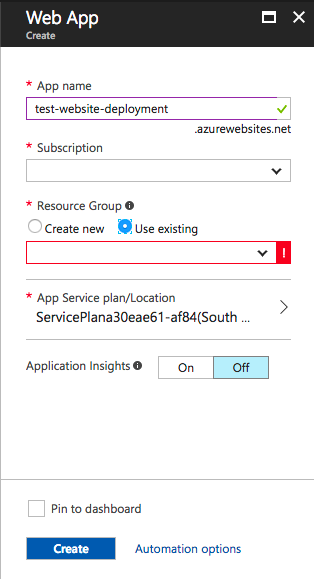
At this point you should have a working Azure website. Now we can configure it to accept Azure git deployments.
Setup Azure Deployments
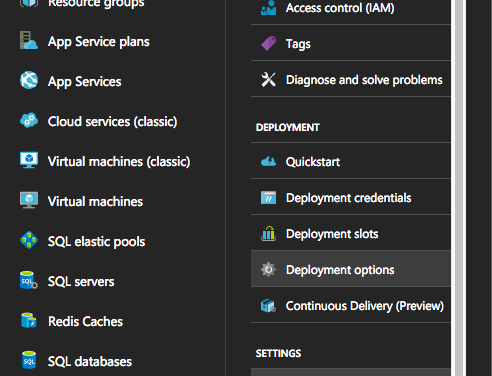
While in the blade for your Azure website click the Deployment options icon.
Now you can select Configure Deployment options and then Local Git Repository.
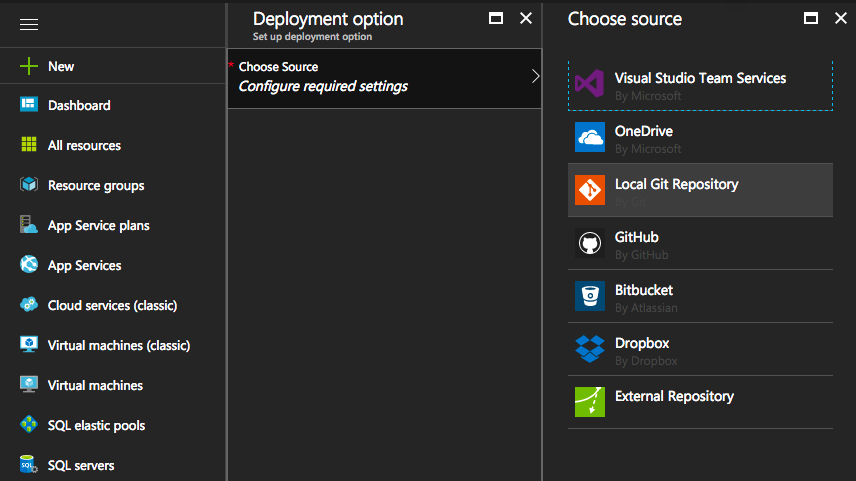
Make sure you confirm your settings. Pretty easy so far. We just need to setup some credentials for the repository. This is done in the Select deployment credentials section. It mentions ftp but it is the same for both.
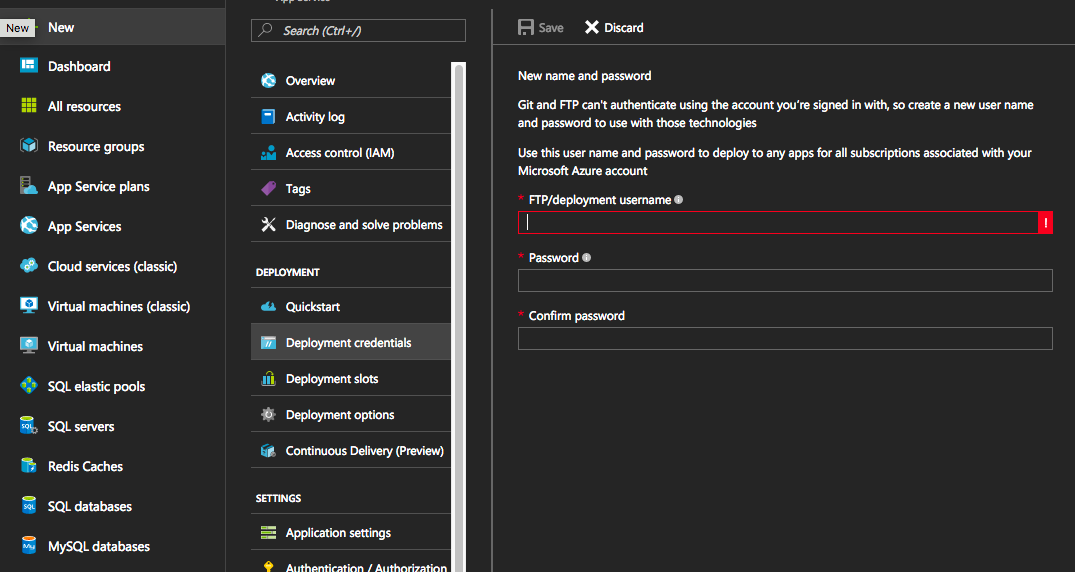
Now your site should allow deploying via git. If you click on the overview section you will see a Git clone url. Copy this somewhere. So let's make a site.
Create .Net Core Site
You can build your site in node, .Net, php, python, or whatever. For the sake of what I'm currently working on I'll be throwing together a quick .Net Core site.
Open up a terminal. You can also do this with Visual Studio, but I'll keep it to the metal for this one (I'm coding from OSX).
mkdir newsite && cd newsite
cd src && cd src
Create the solution and site. Then restore the nuget packages and run the project.
dotnet new sln --name YourSite
dotnet new mvc --name YourSite.Web
dotnet sln YourSite.sln add YourSite.Web/YourSite.Web.csproj
dotnet restore

cd YourSite.Web
dotnet run
Yay! Your application should be up and running. If you navigate to localhost:5000 you should see the standard template. With that done it's time to configure it for deployment.
Setup Azure Deployments
I like to start by making a dist folder that I'm going to publish the site into. You could publish it from the root but generally all my projects wind up with build processes and things that make the root folder not viable. So let's create a dist folder, initialize git in it, and the url we copied earlier as the git remote.
mkdir dist && cd dist
git init
git remote add azure https://<username>@<project>.scm.azurewebsites.net:443/<project>.git
cd ..
Perfect. Anything that is committed and pushed to the remote will go on the website.
Deploy the site
Deploying the site is a matter of running whatever command puts your project into the dist folder. Then, simply push it up to Azure.
dotnet publish --output dist --configuration Release
cd dist
git add .
git commit -am "Initial deployment"
git push azure master
Now you can navigate to the azure website and see your shiny new code there.