// load_log.exe /cat=Software
Coding with a private LLM model using OpenCode and VSCode
Posted September 27, 2026
I previously posted an article on building an AI server with Ubuntu and llama.cpp. I wanted to try it out with a few tools to see what would happen.
Setting up Opencode
OpenCode is an agentic coding AI harness that wraps "any" LLM with planning loops, tool execution, file I/O, and shell integration. OpenCode is incredibly powerful and complex, but the short answer is you can code with it.
I'm on Windows, so I'm going to use npm to install OpenCode. There's a number of ways to do so on their website.
npm install -g @opencode/cli
Open a new terminal and run it.
opencode
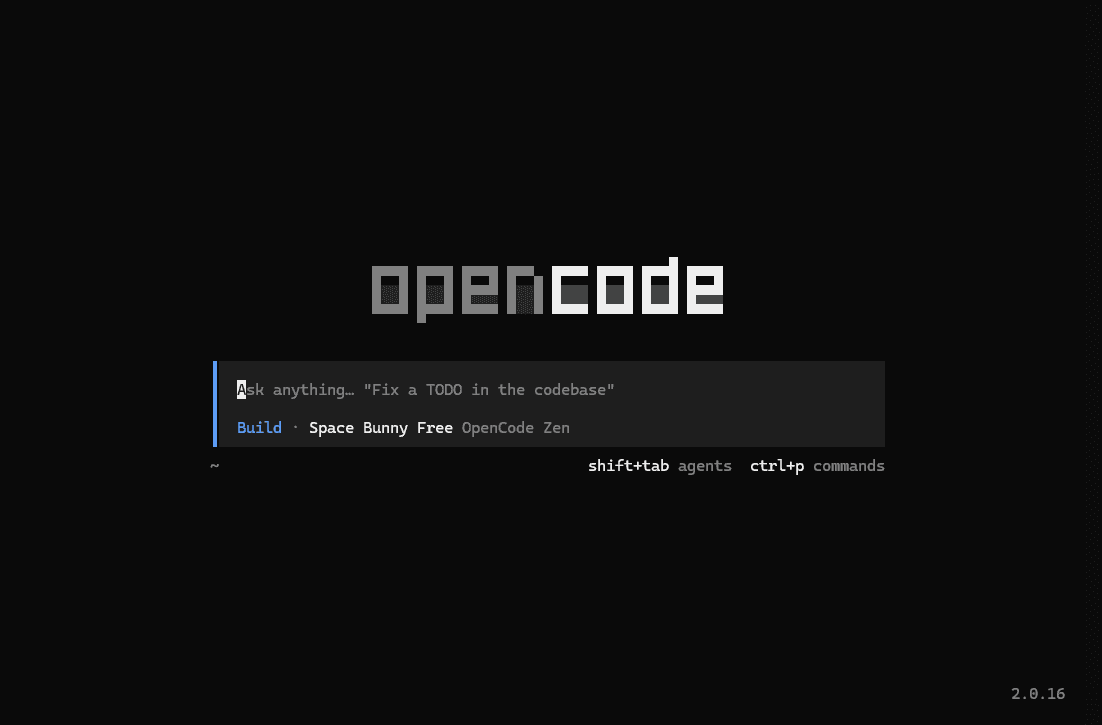
Nice. Next up, configure to use our hosted LLM.
Configure with our llama.cpp server
I'm going to start with a local project. Basically, create a folder and a opencode.json file in that folder. I used Visual Studio Code to do this.
mkdir opencode
cd opencode
code .
Create opencode.json file:
{
  "$schema": "https://opencode.ai/config.json",
  "model": "private-net/custom-model",
  "provider": {
    "private-net": {
      "npm": "@ai-sdk/openai-compatible",
      "name": "Private Network",
      "options": {
        "baseURL": "http://your-ai-server-location:8080"
      },
      "models": {
        "custom-model": {
          "name": "Default Model",
          "reasoning": true,
          "tools": true
        }
      }
    }
  }
}
Open a terminal (I just used the one in VSCode) and type opencode. Enter a prompt.
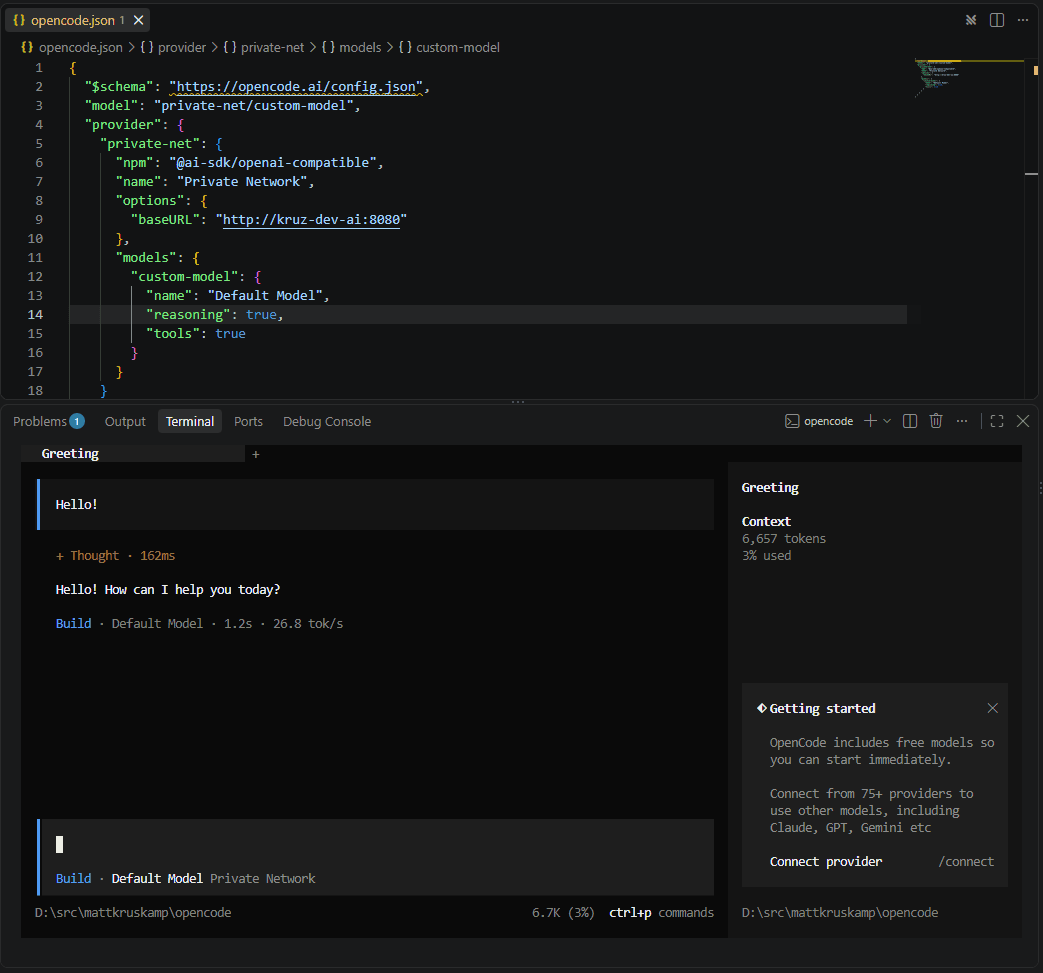
Hurray! We now have open code working with our local network LLM.
Setting up VSCode
That was easier than I thought, and I felt on a roll, so why not configure VSCode as well.
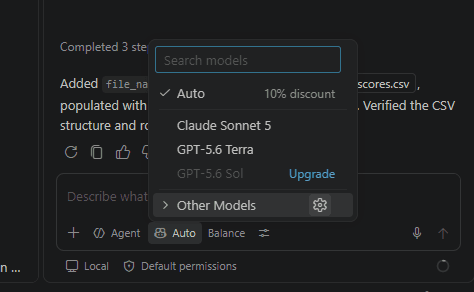
With the AI chat window open: ctrl+alt+i, click models -> the little cog wheel next to other models.
Click add models -> custom endpoint:
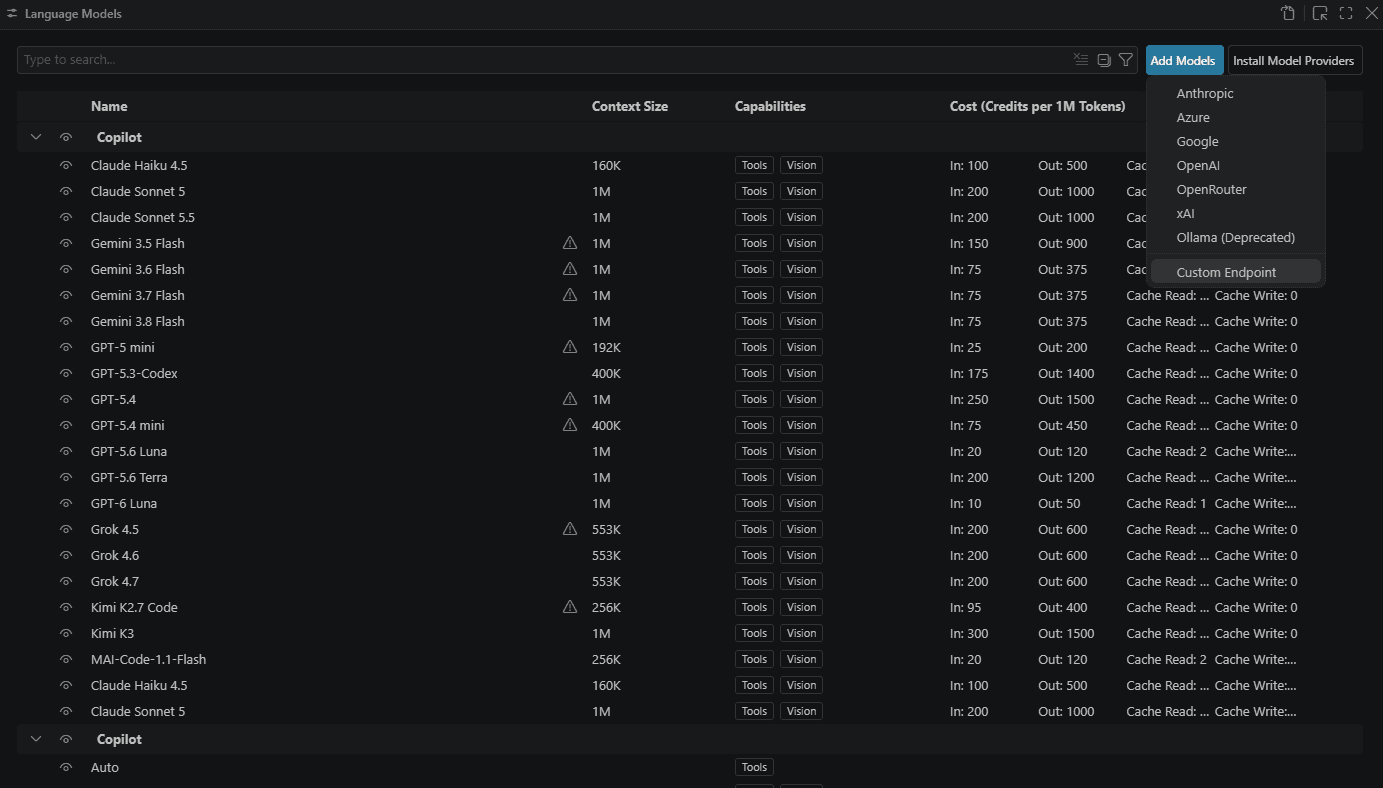
It asks to create a group at the top. Type in your group name:
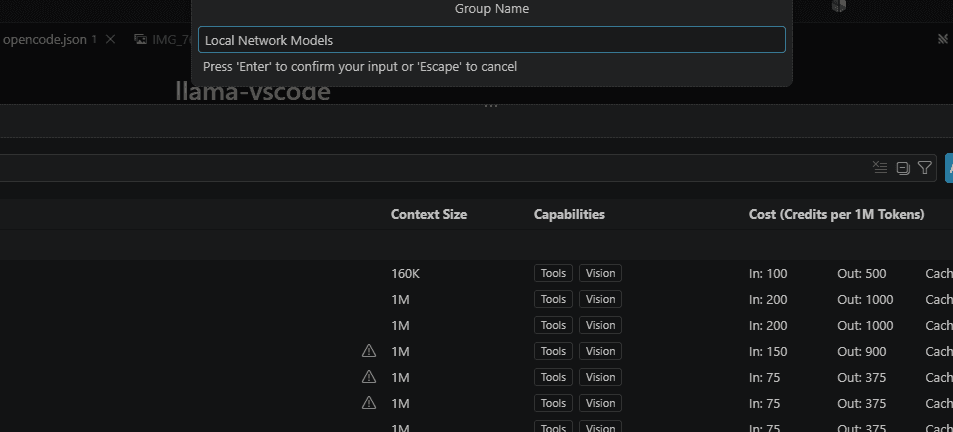
For API type, choose Chat Completions:
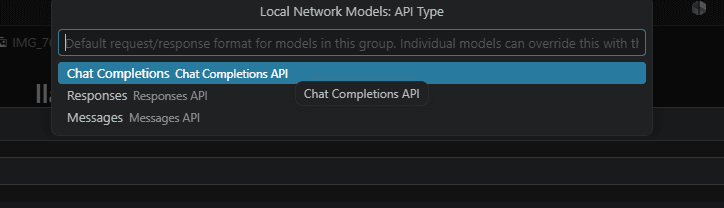
At this point, a popup shows allowing the configuration of the model. This is how I set mine up.
[
  {
    "name": "Local Network Models",
    "vendor": "customendpoint",
    "apiKey": "${input:chat.lm.secret.-68a18c91}",
    "apiType": "chat-completions",
    "models": [
      {
        "id": "default-model",
        "name": "Default Model",
        "url": "http://your-server-location:8080/v1/chat/completions",
        "toolCalling": true,
        "vision": false,
        "maxInputTokens": 64000,
        "maxOutputTokens": 16000
      }
    ]
  }
]
Save and close, and you should be able to now choose from the model in your chat window.
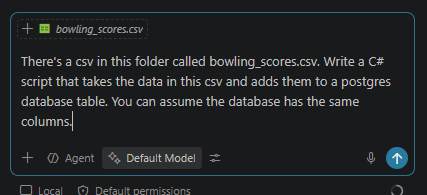
It worked! I now have local AI models running in both OpenCode for terminal and VSCode for IDE integration.